What are the steps in the production process of hollow capsules?
Leave a message
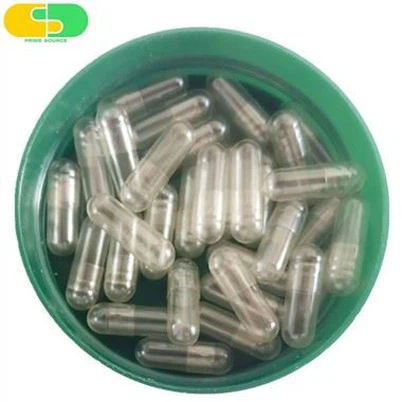
The main line of the production process for hollow capsules is to first form two sections of capsule shells, namely the cap and body, and then undergo drying, demolding, cutting, fitting, testing, and packaging to become empty capsules that can be transported and enter the subsequent filling process.
In this process, the mold needle is the basis for forming the capsule shell. The cap needle and body needle enter the adhesive solution separately, and the wet film adheres to the metal surface. After leveling and controlled drying, the cap shell and body shell with shape and strength are obtained.
The entire production process of hollow capsules:
Step 1: Prepare the film-forming material into a stable adhesive solution
Before the capsule shape appeared, manufacturing began with the gel solution. Gelatin HPMC, The material behavior of pullulan polysaccharide and starch systems is different, but both require the formation of a film-forming system that can stably adhere to the surface of the mold needle and establish a shell structure during subsequent drying.
Glue control usually focuses on the identity, concentration or viscosity, temperature, mixing, filtration, defoaming, color dispersion, and usage time of the raw materials. These variables may affect the amount of adhesive, film thickness, bubbles, particles, color difference, and subsequent drying.
Step 2: Dip the cap and body mold needle separately into glue to form
The two section hard hollow capsule consists of a cap and a body. The two types of metal mold needles have different sizes and shapes, and are distinguished according to capsule specifications. When the mold needle enters the glue liquid and then leaves the liquid surface, a wet film will be formed on the surface; Subsequently, by rotating or moving accordingly, the distribution of glue on the top and side walls is made more stable.
The surface condition of the mold needle, the state of the adhesive solution, the dipping depth, and the withdrawal process may all affect the film formation. The local wall thickness, top shape, and subsequent demolding start from here, so the mold needle is not a simple tool only responsible for "shaping the shape".
Step 3: Leveling and controlled drying to turn the wet film into a capsule shell
The wet film after dipping in glue needs to be leveled during movement and gradually dried through controlled air. The drying goal is to achieve a balance between strength, flexibility, size, and moisture that is suitable for the product in the shell.
The drier the capsule shell, the better. Some capsules may be more prone to brittle fracture when the water content is too low; When the moisture content is too high, softening, deformation, or adhesion may occur. The materials, packaging, storage, and customer site environment will continue to affect the condition of the finished product, so the completion of drying does not mean that the moisture problem has ended.
Step 4: Demoulding, cutting, and then fitting the cap and body together
After the wet film forms a dry shell with sufficient strength, the cap shell and body shell are respectively removed from the mold needle. The demolding process needs to avoid pulling, cracking, and deformation; Then cut according to the requirements to ensure that the two sections of the shell have appropriate length and edge condition.
The cut cap and body are aligned and fitted together.
Empty bags are usually supplied in a pre locked state: the connection should be sufficient to cope with packaging, transportation, and pre shipment vibrations, while allowing the filling equipment to separate the cap body. Pre locking that is too tight or too loose, as well as fluctuations in edge and length, may all manifest during capsule separation, locking, or transportation.
Step 5: Testing, Printing, Packaging, and Batch Release
After the molding is completed, it is also necessary to check the appearance, size, closure status, and other properties agreed upon in the project. Detection and sorting cannot be understood solely as end of pipe selection. The recording, process inspection, and exception handling of each preceding process together constitute the quality chain.
Items that require color or printing should be confirmed according to approved color standards, drawings, directions, and samples. Printing completion still requires anti confusion and visual inspection. In the packaging stage, it is necessary to correspond the product name, material, specifications, color, printing, batch number, quantity, label, and storage requirements.